Original author -Econia
Compilation - Odaily Fan Jiabao
Prerequisites and installation introduction
In this tutorial, you will learn:
1. Copy the Econia reference front end
2. Run the front end locally
3. Deploy the front end on Vercel
premise:
1. VSCode,terminal, or your favorite code editor
2. Already installed pnpm
Step 1: Clone the Econia frontend Github repo
We can use the git command to clone the repo, fork it to our own GitHub account, or directly download the compressed package.
If you don’t know how to copy the repo, you might as well take a lookGuides on Github。
Step 2 (optional): Set up the TradingView software repo
By default, candlestick functionality in the Econia reference frontend relies on the closed-source TradingView advanced charting library. If you dont have access to a private repository, candlestick functionality relies on an open source, lightweight charting repository.
The TradingView advanced charting library is a submodule of the Econia reference front-end for displaying market-specific candlestick charts. It is initially set in src/frontend/public/static.
Essentially, adding TradingView as a submodule clones the TradingView repository and builds it as a static file. Therefore, you need to have access to the TradingView repository.
To gain access, you must contact the TradingView team and wait for approval.
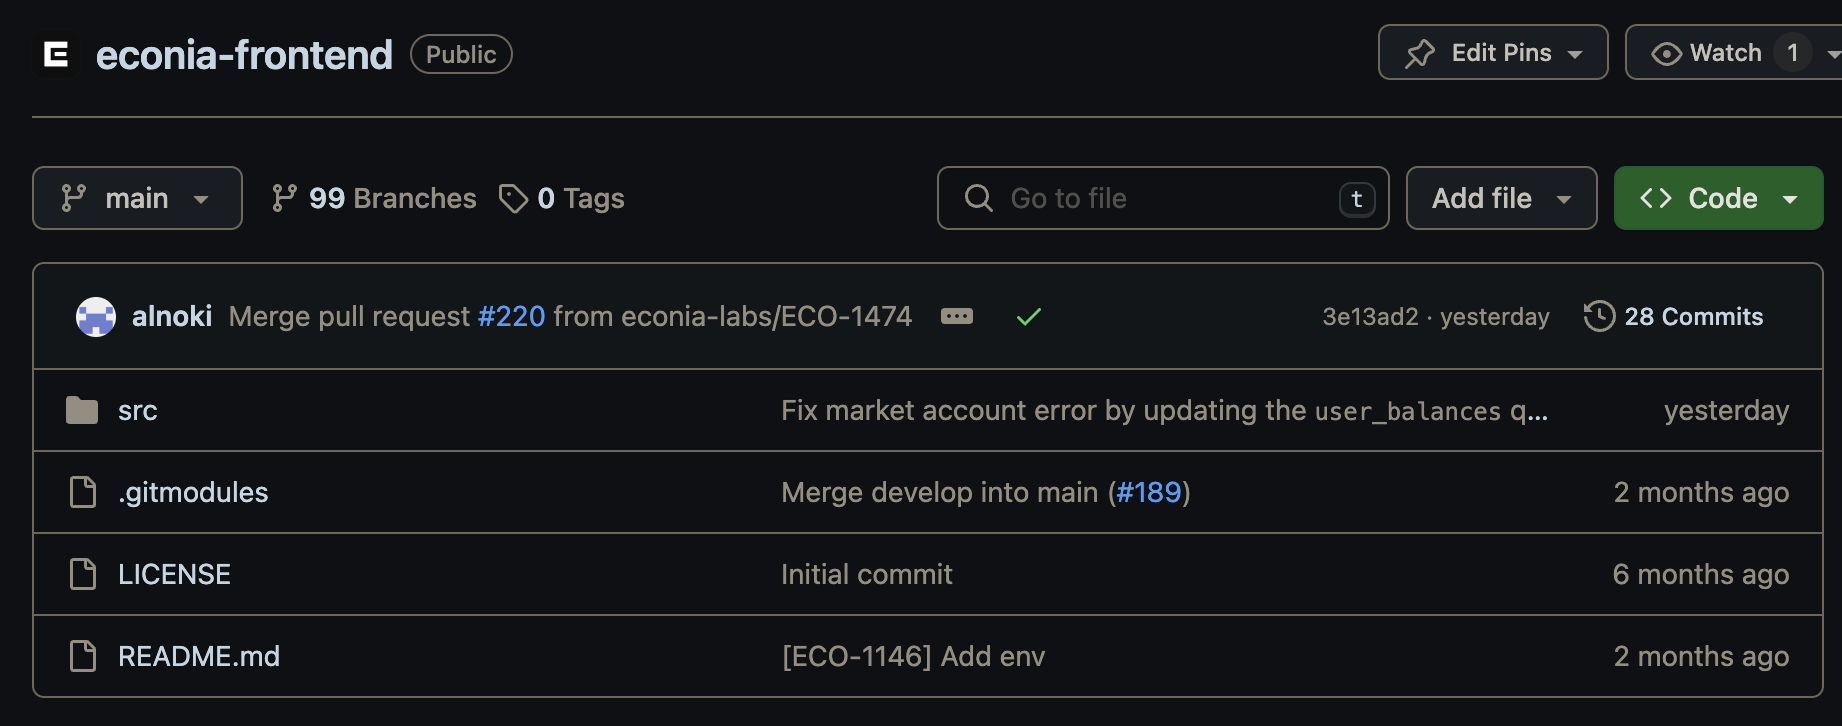
Step 3: Open your fork of econia-frontend
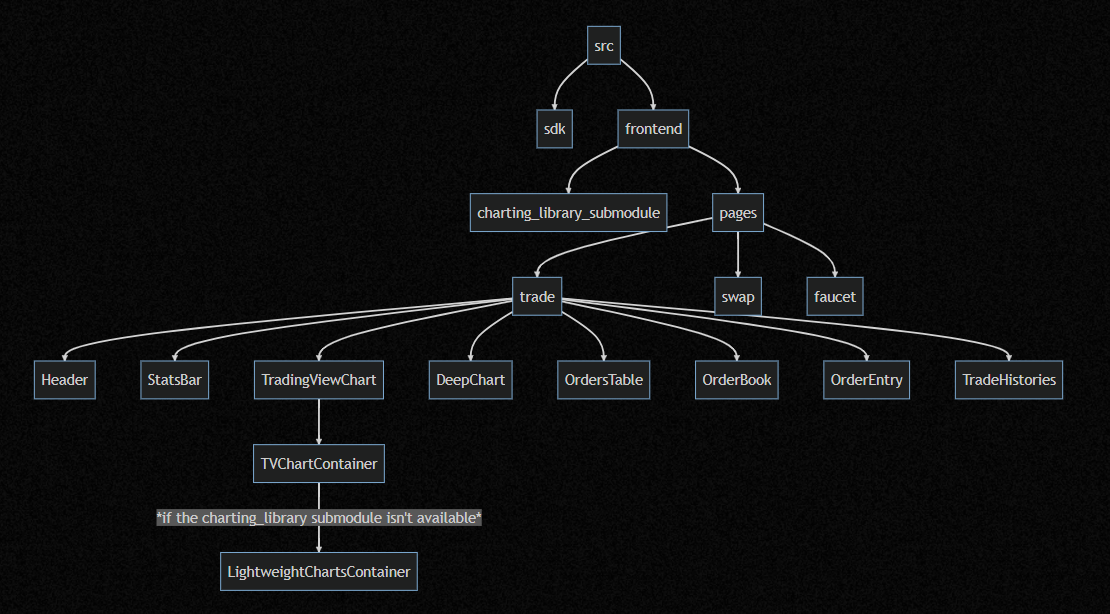
Start by looking at the structure of the code. You can see the component and file diagrams for each page and view here:
Step 4: Run the project locally
1. Navigate to the frontend folder:
cd src/frontend
2. Use pnpm to install dependencies:
pnpm i
3. Copy .env.example to .env.local:
cp -R.env.example.env.local
If you look at the .env file, you may notice that the environment variable for the REST URL is set to https://aptos-testnet-econia.nodeinfra.com/. This is because Nodeinfra runs Econia DSSCommunity deployment to provide data feed for Econia reference front-end data.
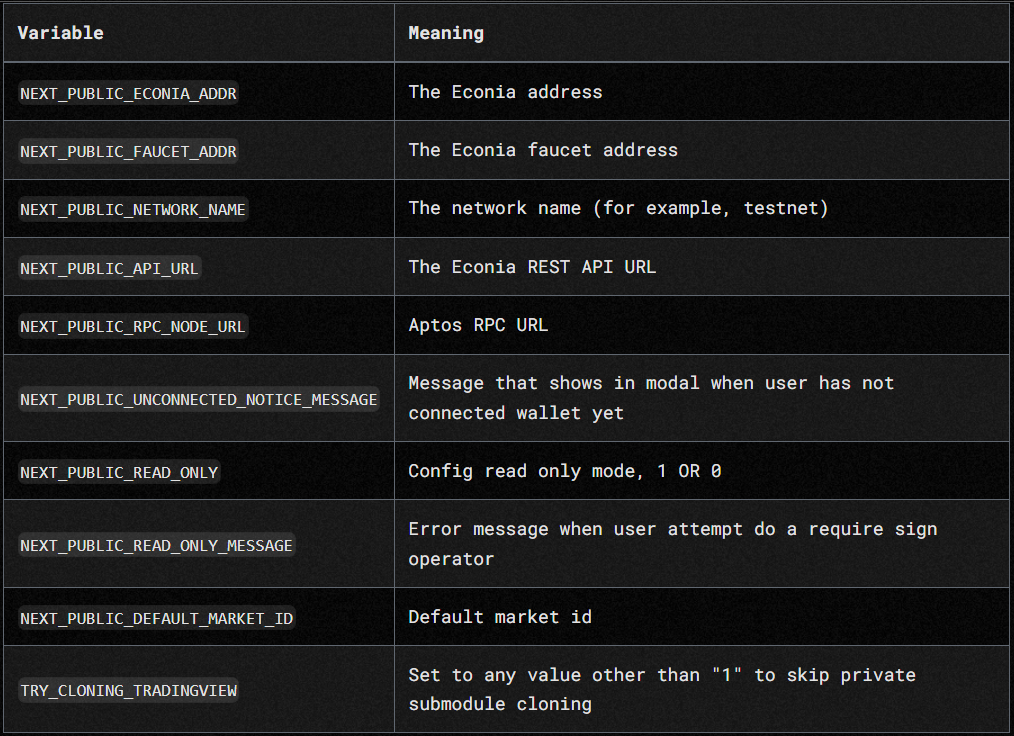
Comparison of variable names and their meanings
4. Run the development service:
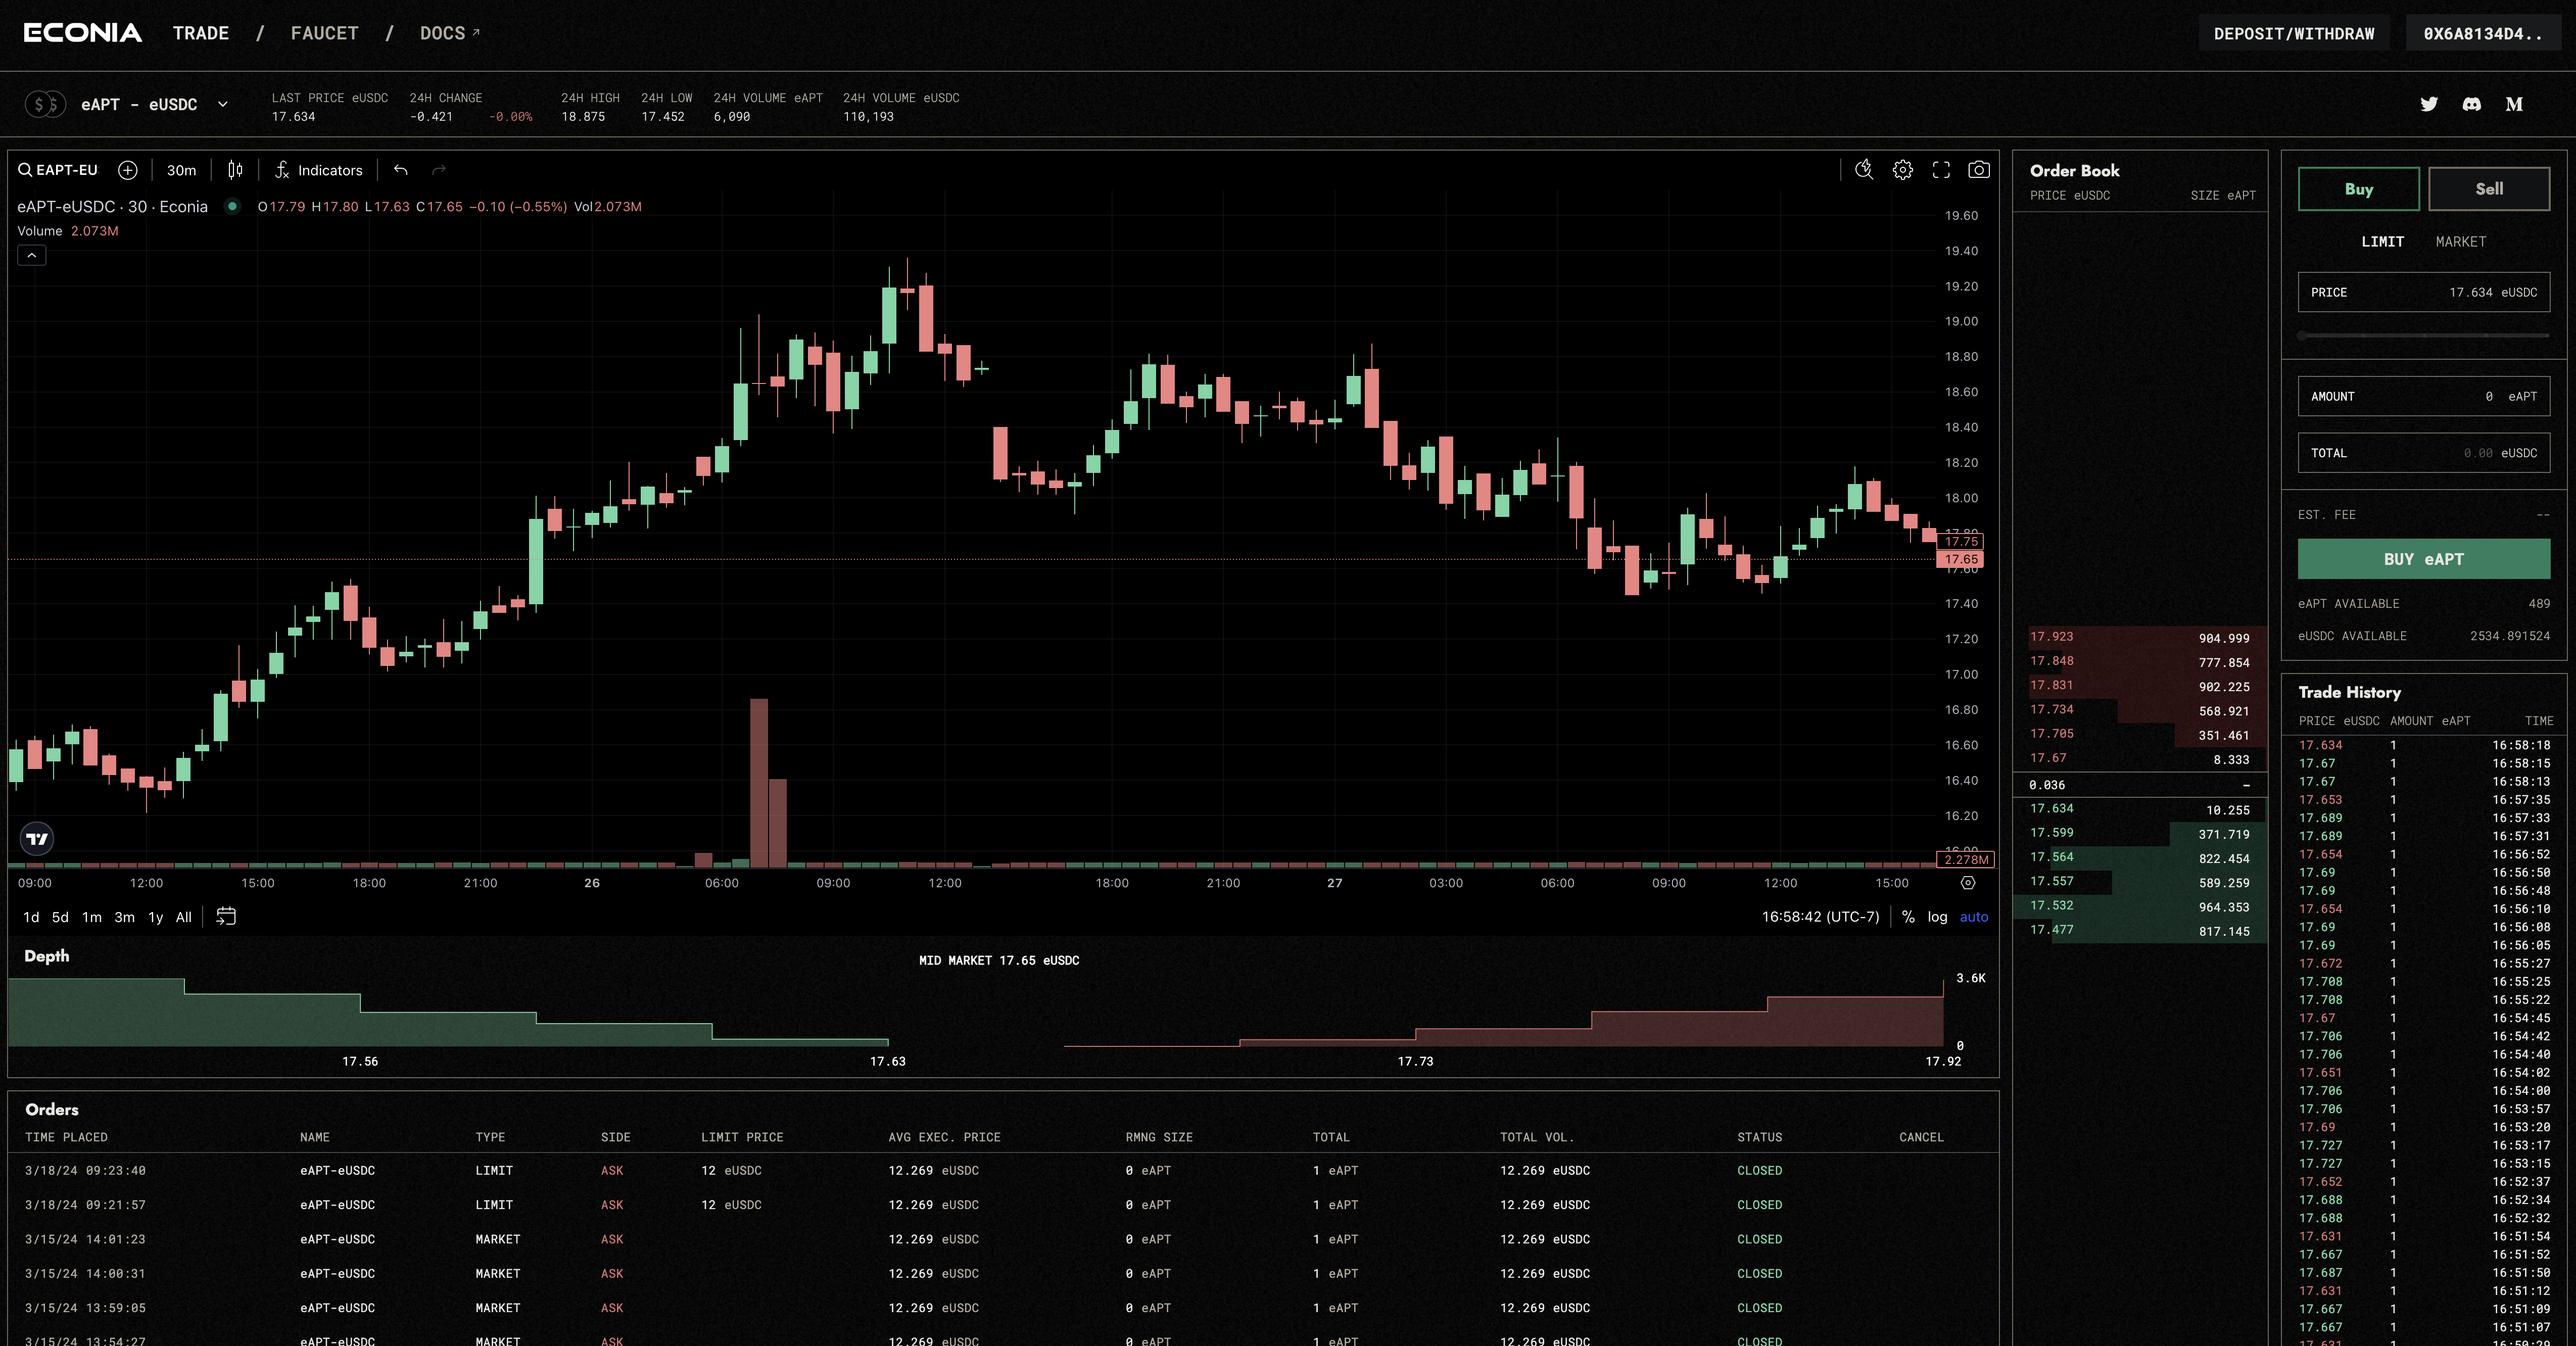
pnpm run dev
This will open it in your browserhttp://localhost:3000, see the local version of the frontend.
Steps to deploy on Vercel
Vercel is a user-friendly cloud platform for front-end development and deployment. It simplifies the deployment process by automating Git-based deployments and serverless capabilities.
premise:
1.Github account
2.Github access token
In order to generate GITHUB_ACCESS_TOKEN, you need:
1. Go tohttps://github.com/settings/tokens/new
2. Provide descriptive instructions
3. In the validity period selection box, select No validity period
4. in"Selection range"section, click"Repository - Full control of private repository", select all options related to the repository
5. Click to generate token
6. Copy the generated token to the Vercel environment variable and name it GITHUB_ACCESS_TOKEN
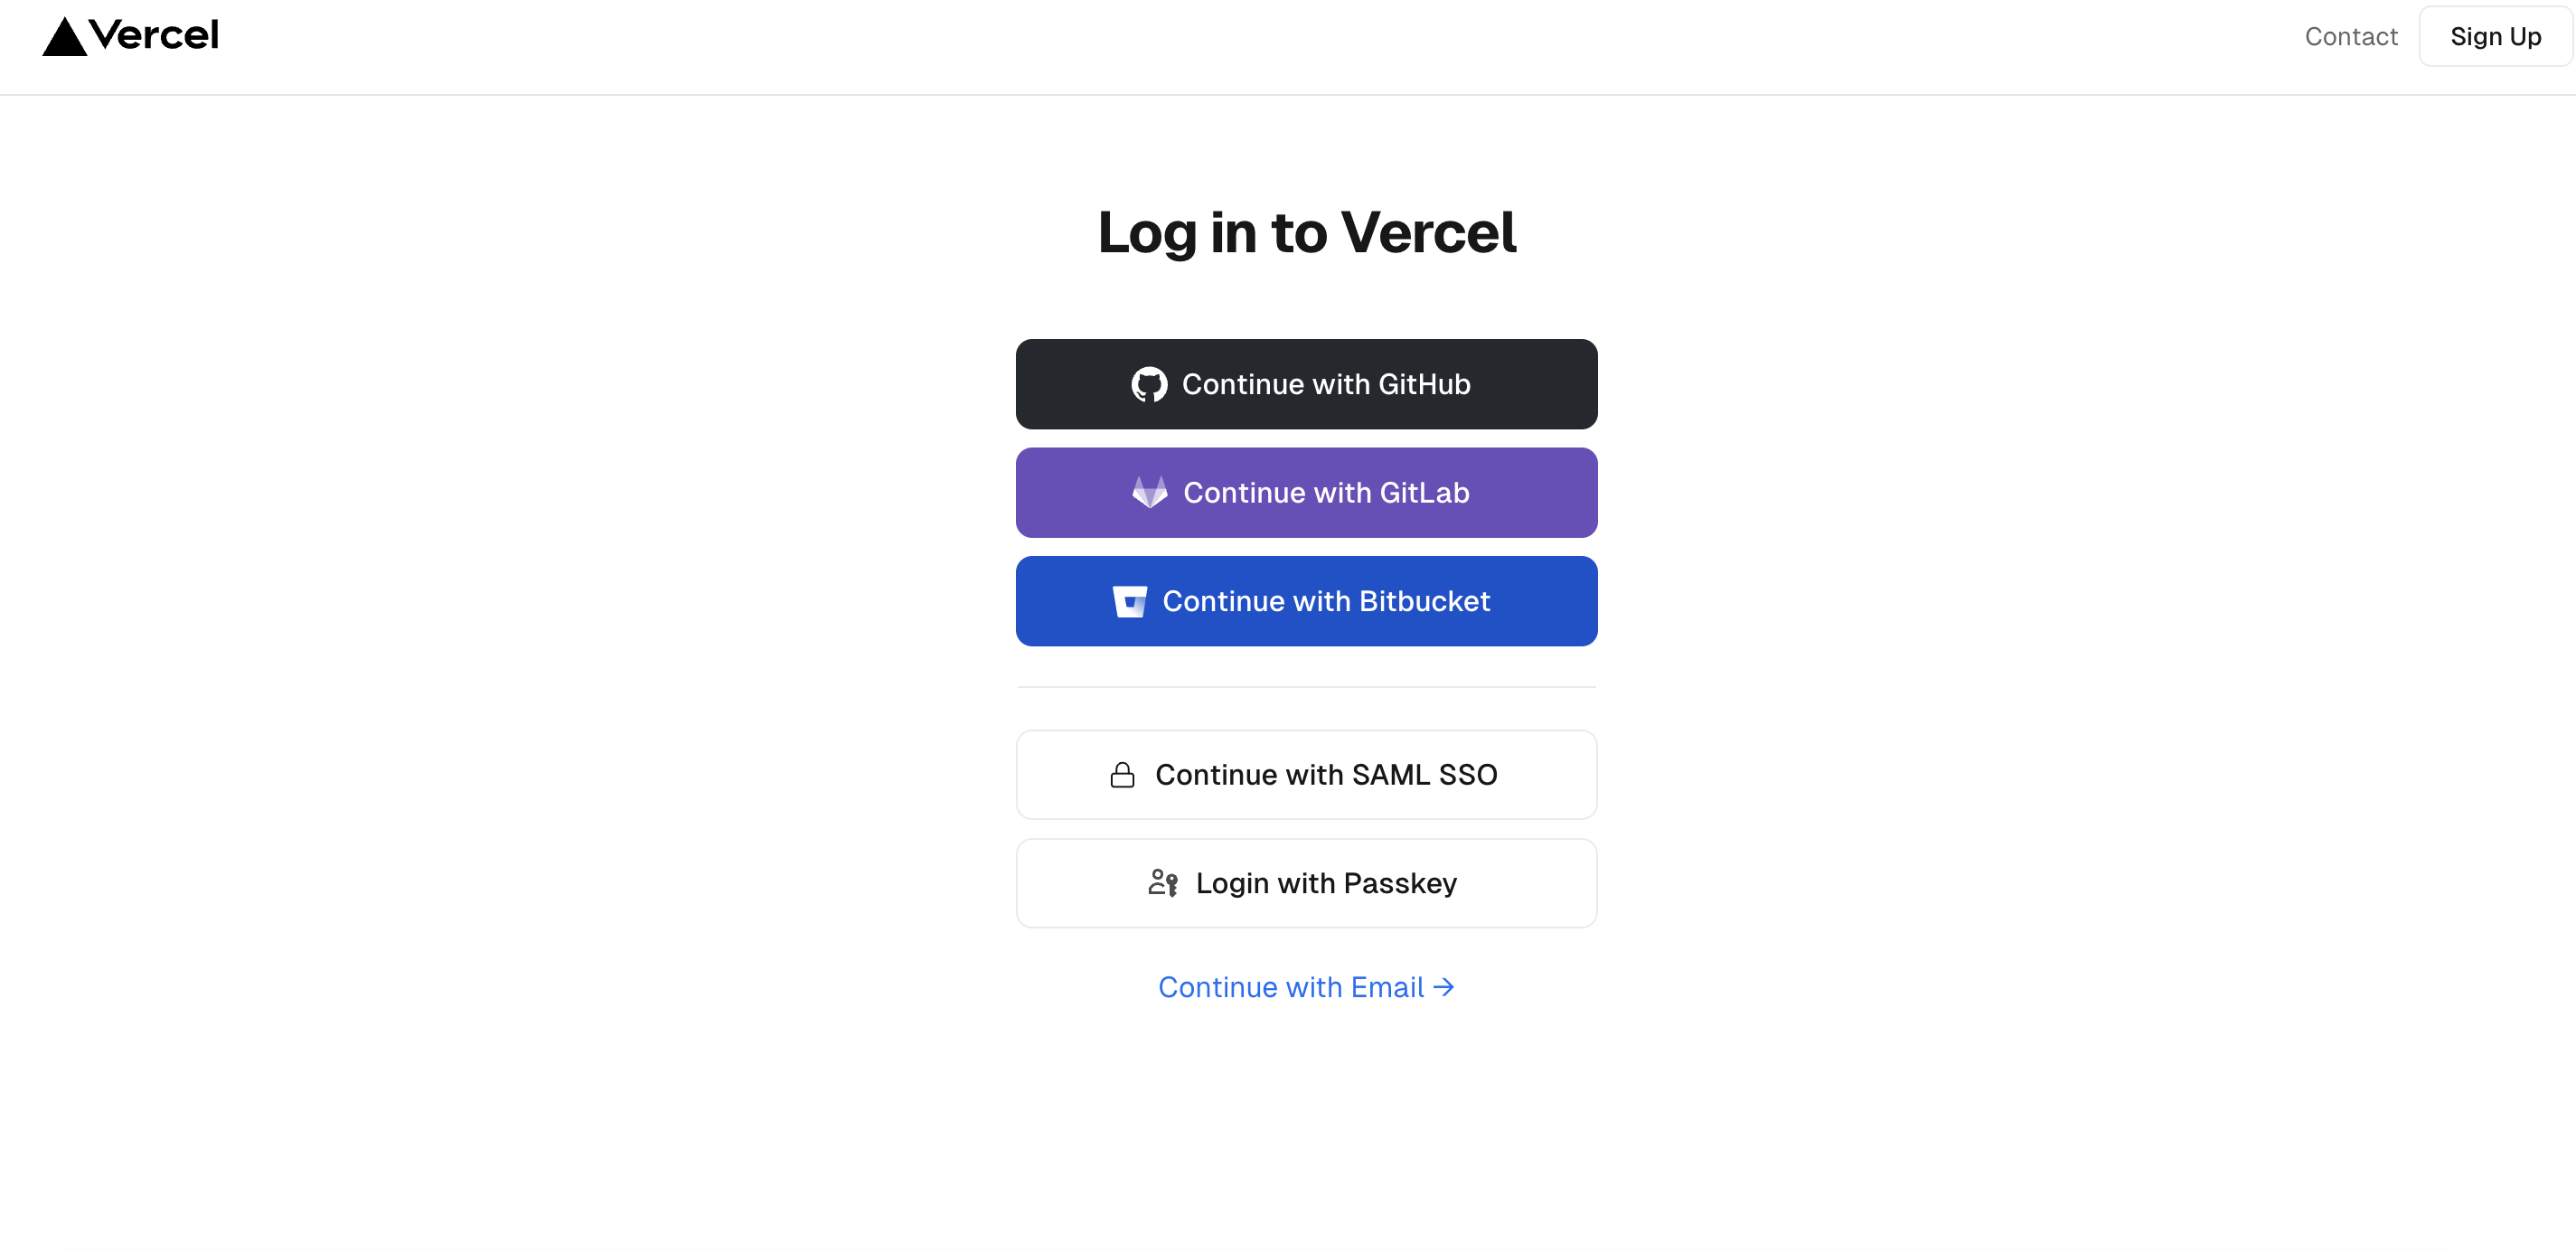
Step 1: Log in to Vercel
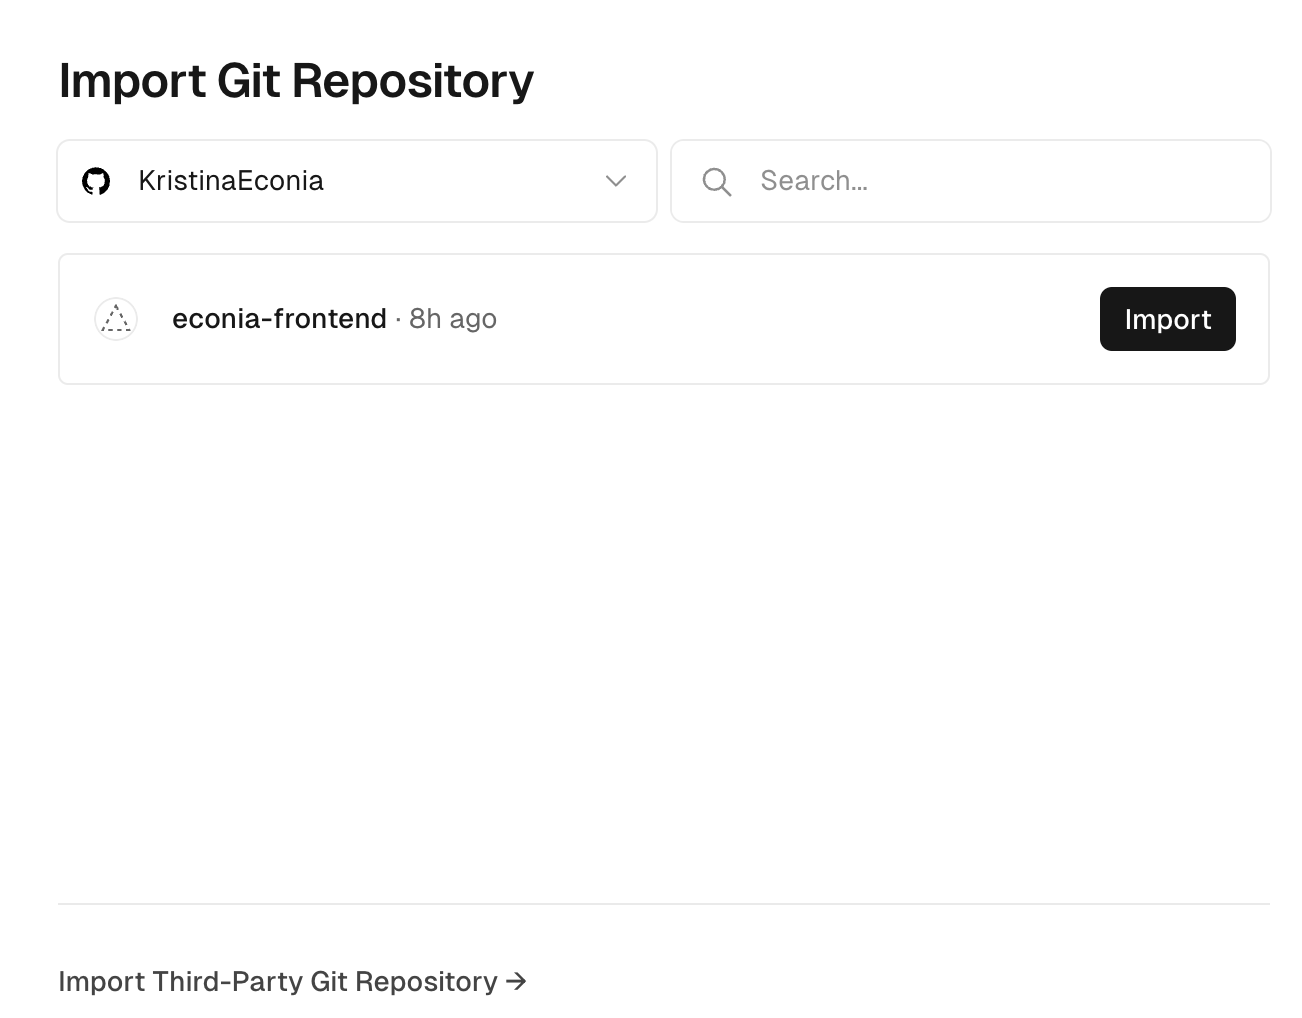
Step 2: Create Vercel Project
Import project: Click on the screen"Add new item"button and select"project"Create a new project, or click"Import project"Import the Github repository.
The Vercel website displays a list of software sources in your Github account. Then click the import button on the econia-frontend repository.
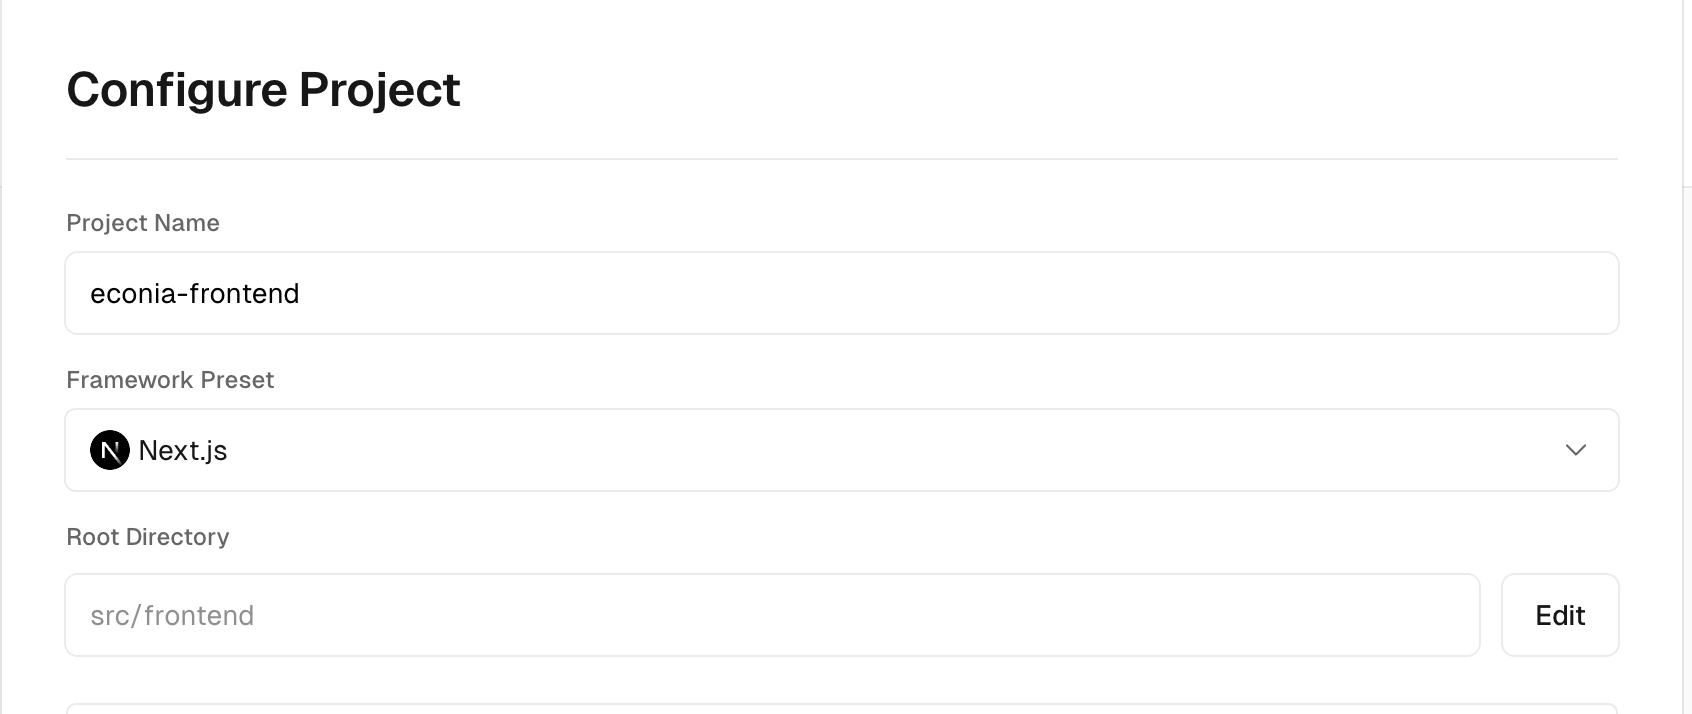
Step 3: Configure the project
Project Name: The project name is automatically generated and can be changed as needed.
Framework default: Since the directory under the above path is a NextJS project, Vercel will automatically detect that its framework default is NextJS.
Root Directory: In the Root Directory field, click the Edit button next to it. A modal window will pop up, allowing you to select the directory where the source code is located. Then you have to select the path econia-frontend/src/frontend and click"continue"。
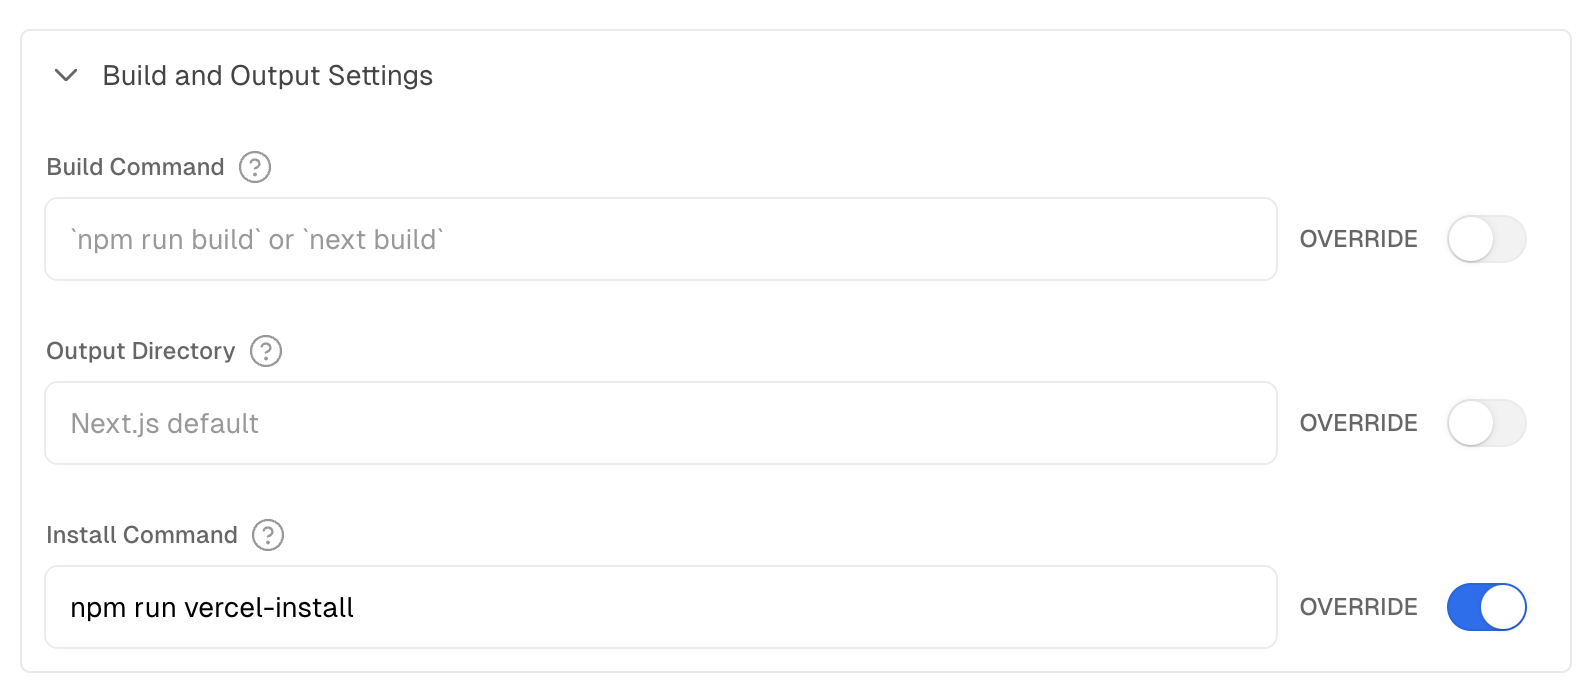
Compilation and output settings: Reset the installation command with:
Environment preparation: To deploy on Vercel, you need to set the following environment variables:
Comparison of variable names and their meanings
Note: If the private TradingView submodule is not accessible, then set TRY_CLONING_TRADINGVIEW to"1 "Any value other than .
Environment variables: Paste all environment variables from the .env.local or .env.example file into the table.
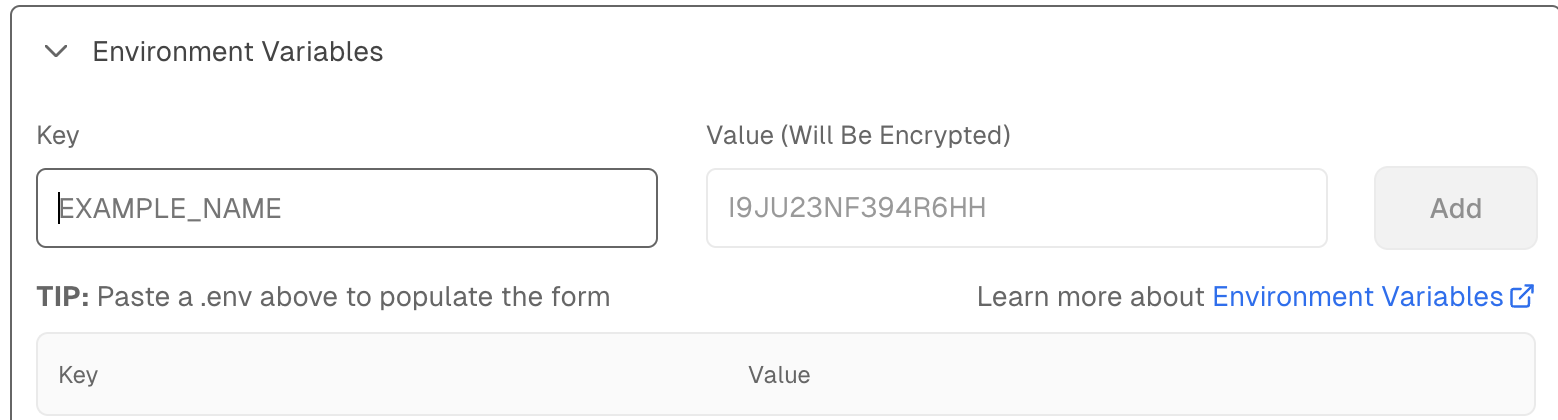
Tip: You dont need to copy and paste every variable every time, just copy your file and paste into the input box.
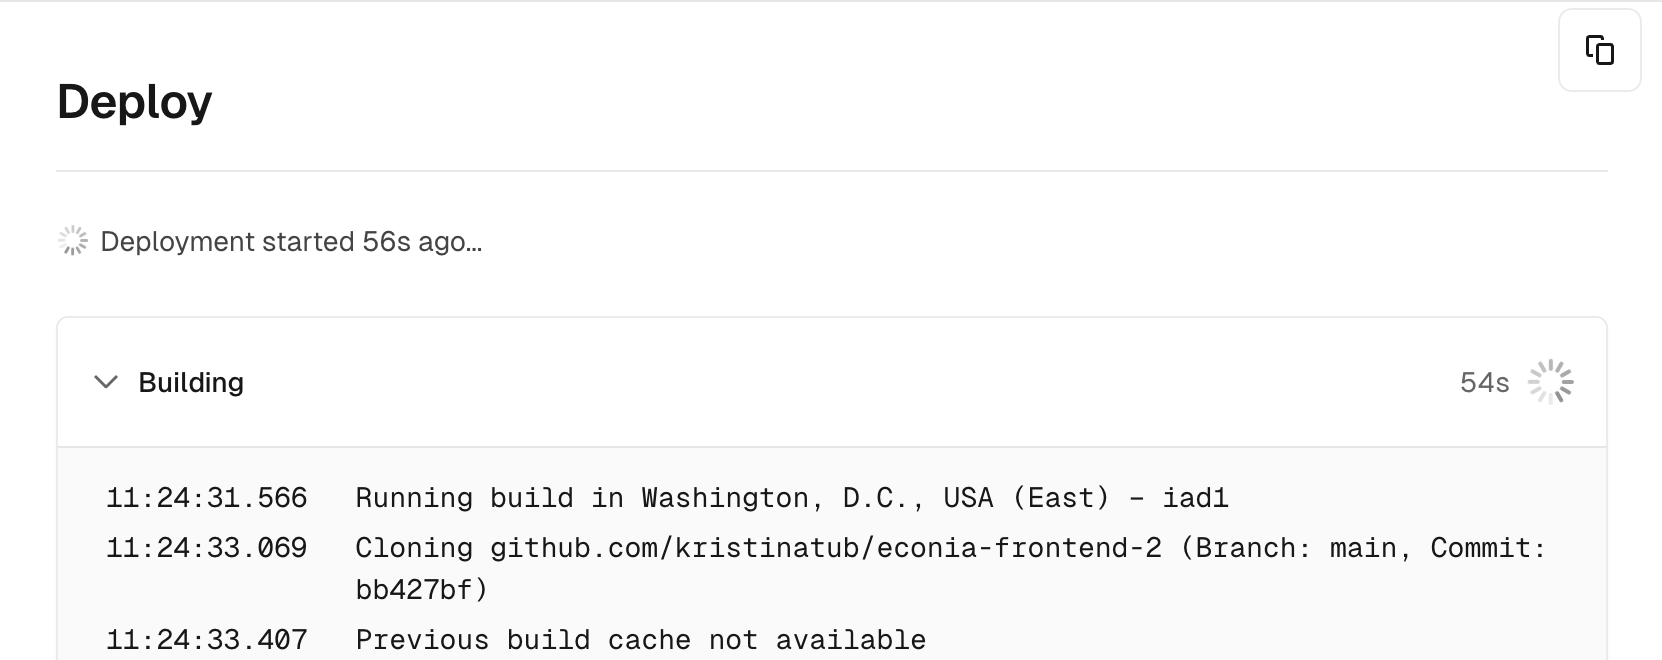
Step 4: Deploy the project
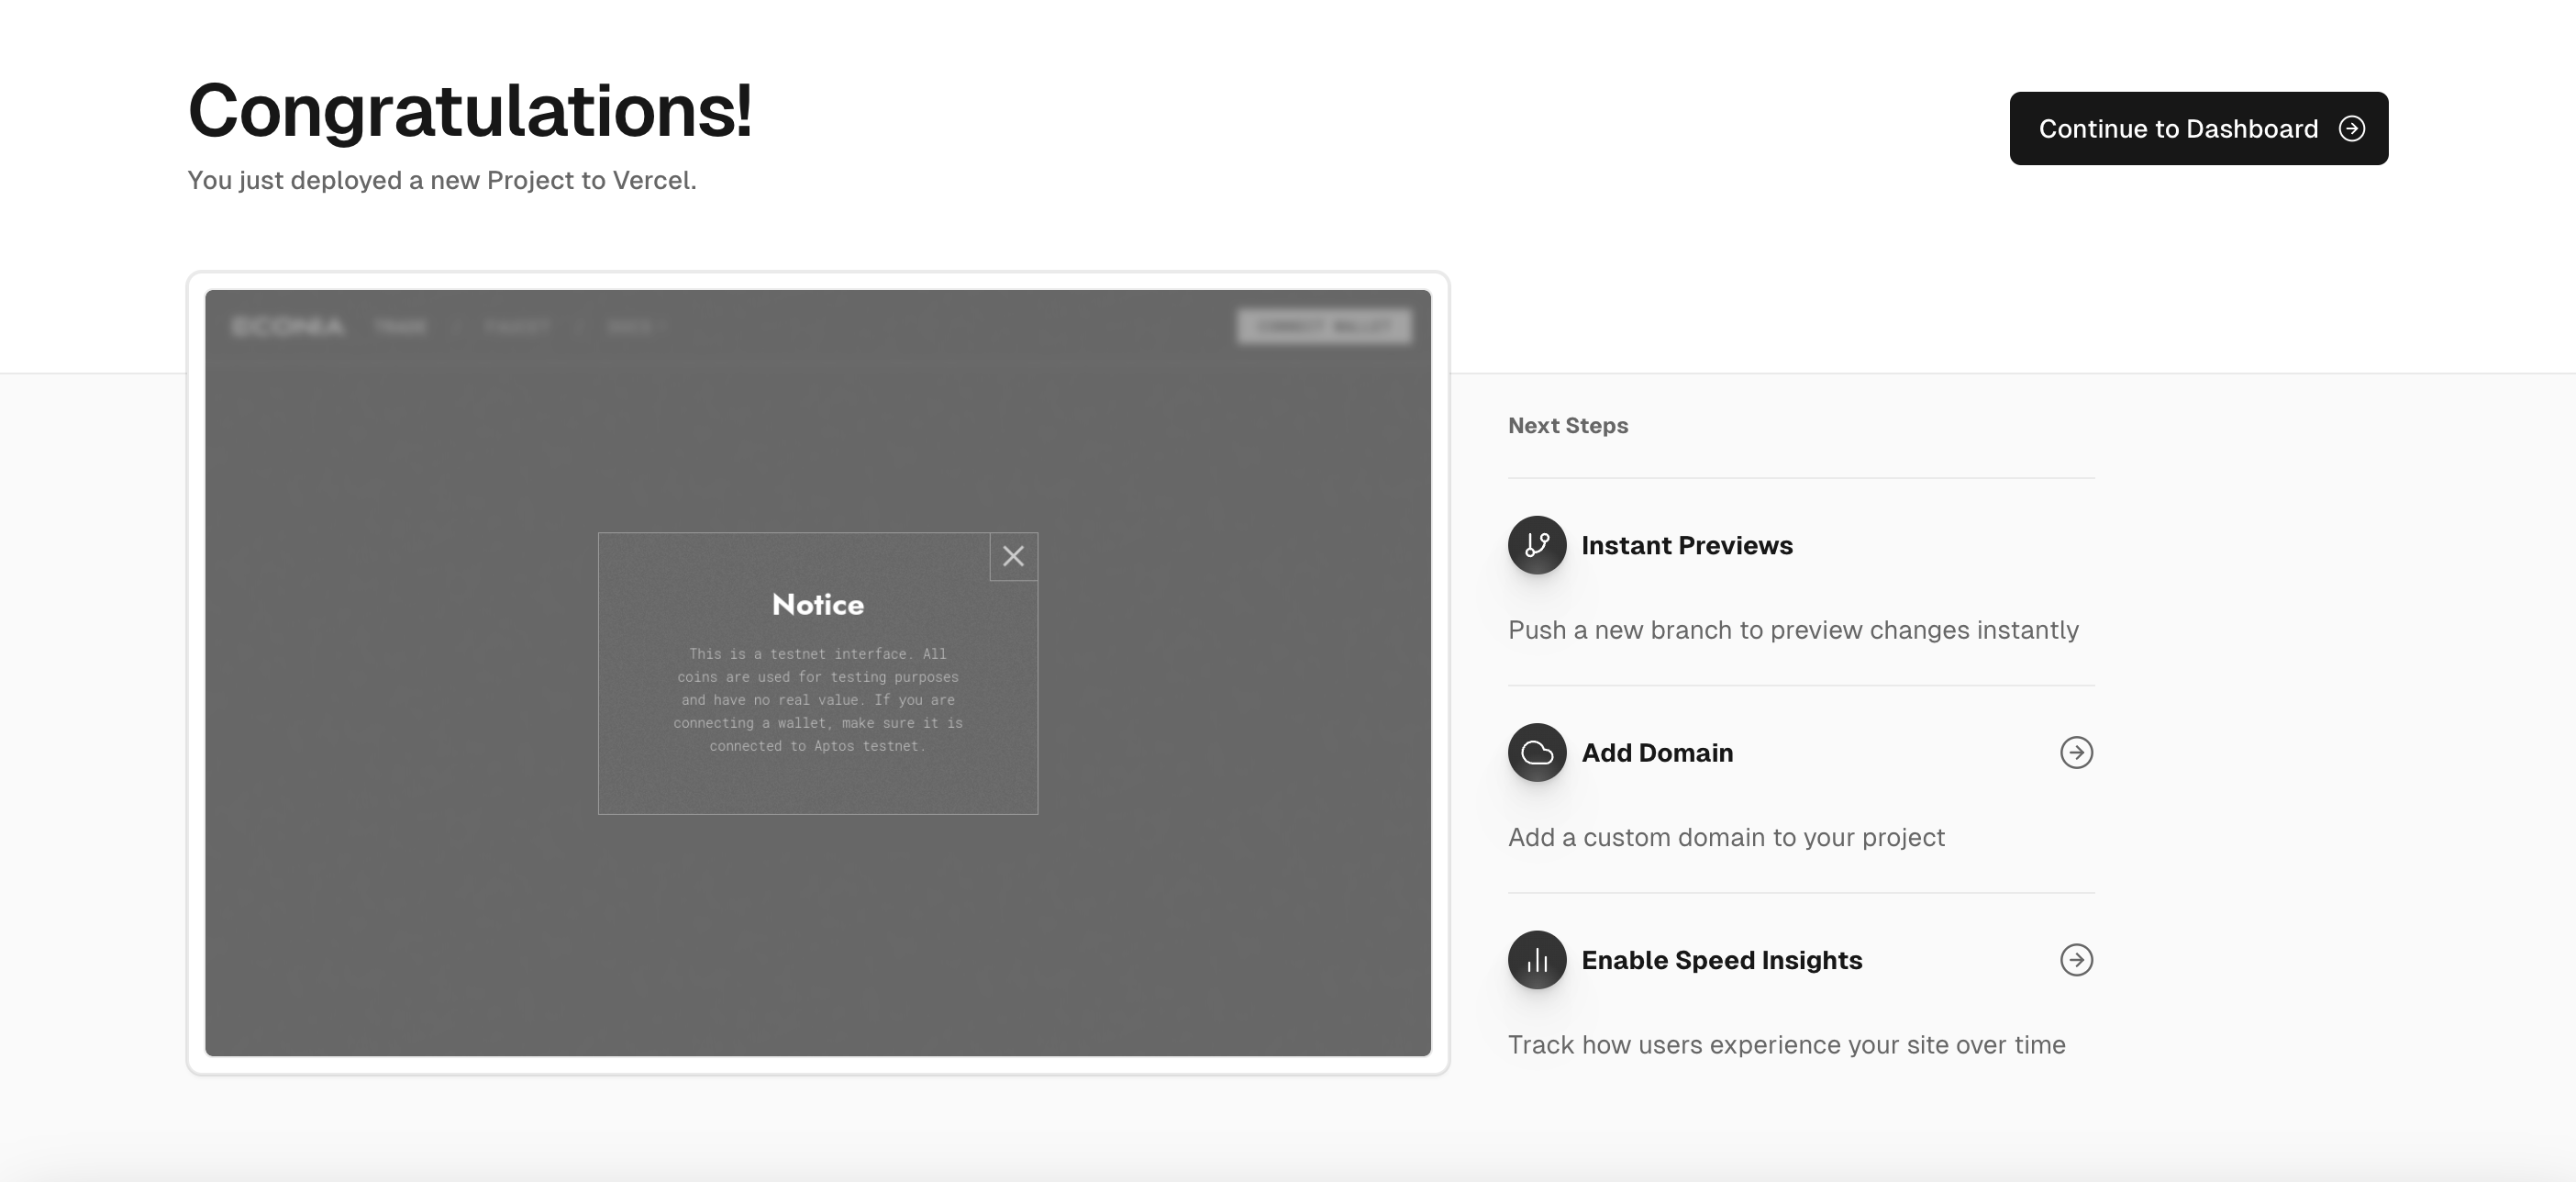
click"deploy"button, wait a few minutes and see the results.
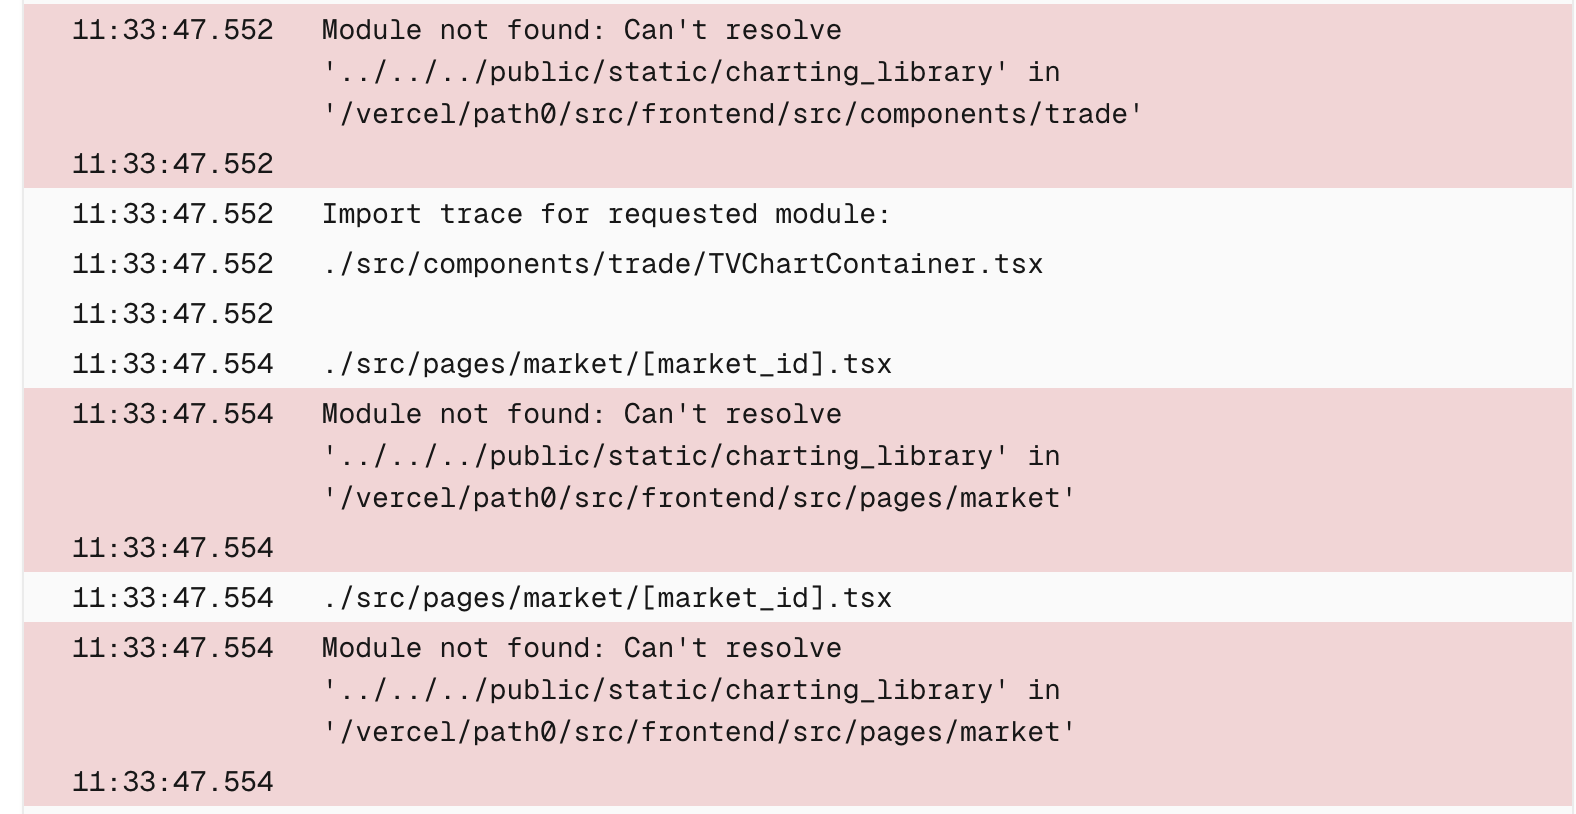
Tip: If you dont have access to the private TradingView submodule, you may see the following error, but the site will still use the open source fallback deployment.
congratulations! You will then be taken to a page hosted by Vercel!